Notebase Beta Testing Guide
Version checks, Notebase setup, field mapping, card templates, and review guidance for Notebase beta testers
Before You Start
Notebase is currently in beta testing. During the beta period, we will improve it quickly, and the interaction details, naming, sync behavior, and error messages may continue to change. The current experience is not final product quality.
If you run into a problem or want us to improve a workflow, please open feedback in GitHub Issues. When you file an issue, include your extension version, browser, steps to reproduce, and screenshots when possible.
Notebase uses the latest API. The Read Frog extension officially supports the current Notebase API starting from 1.33.12. Please make sure your extension version is 1.33.12 or later. If it is not, download the latest version from GitHub Releases. Note that builds downloaded from GitHub Releases do not auto-update. If you prefer automatic browser store updates, the 1.33.12 store release is expected on June 8, 2026, after which extensions installed from the store should update automatically.
Requirements
Please check these requirements first:
- Your account has been enrolled in the Notebase beta after filling out the survey and receiving our invitation email.
- You are logged in to the same account on readfrog.app.
- Your Read Frog extension version is
v1.33.12or later. - You have enabled Config → Beta Experience in the extension options page.
If your account has not been enrolled in the Notebase beta, you may still be able to open the workspace, but you will see a message such as "Notebase is in private beta" and cannot create, sync, or edit Notebase data.
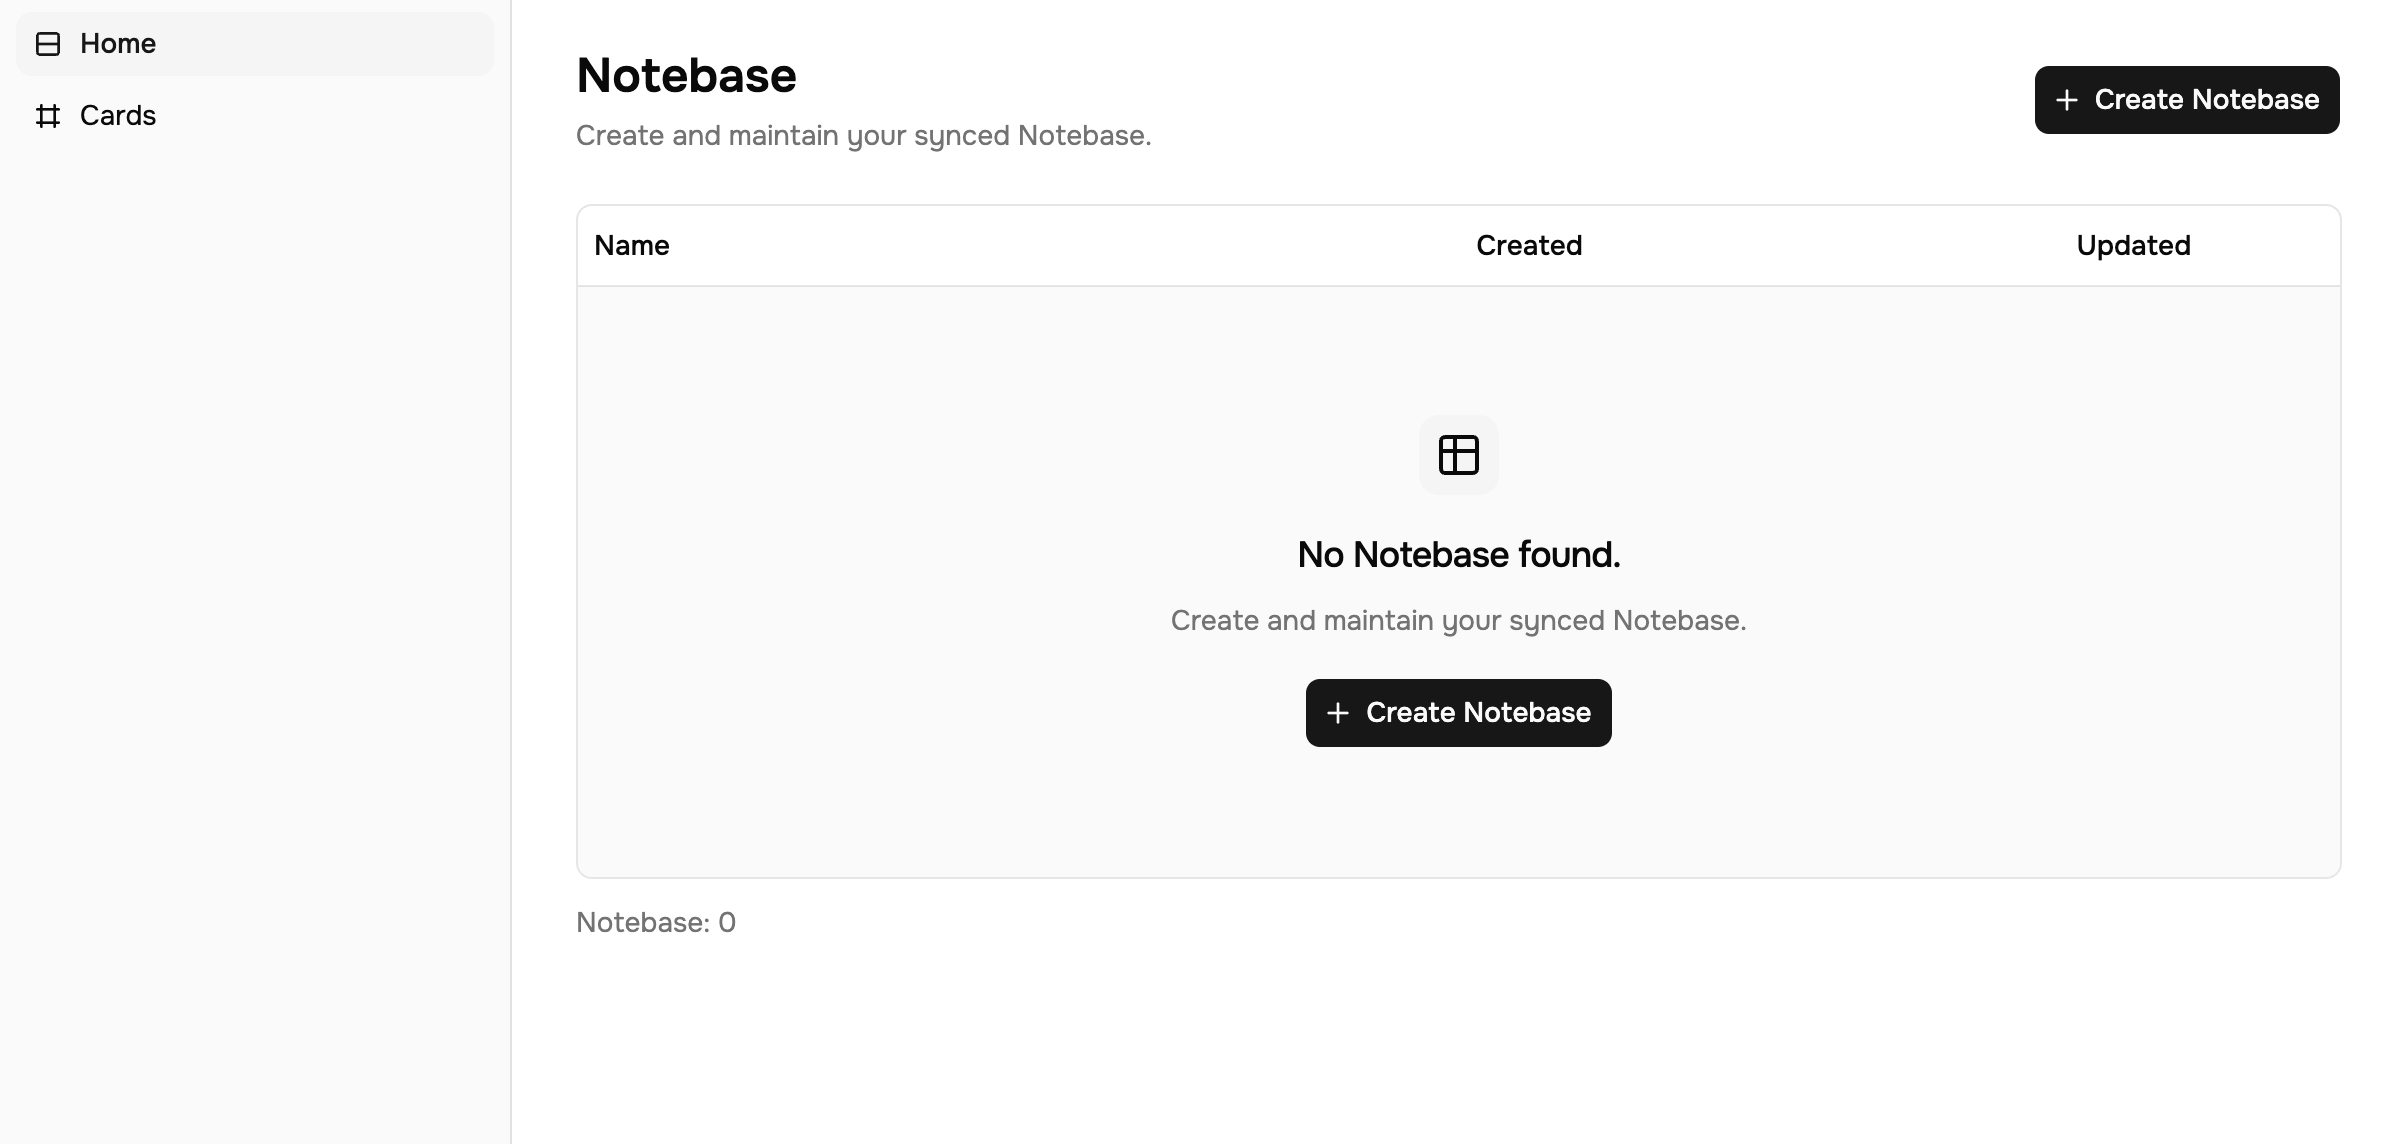
1. Create a Notebase
Open readfrog.app/home to enter the workspace home page.
Create a Notebase
Click Create Notebase, enter a name such as "Reading Notes" or "Vocabulary", and click Create.
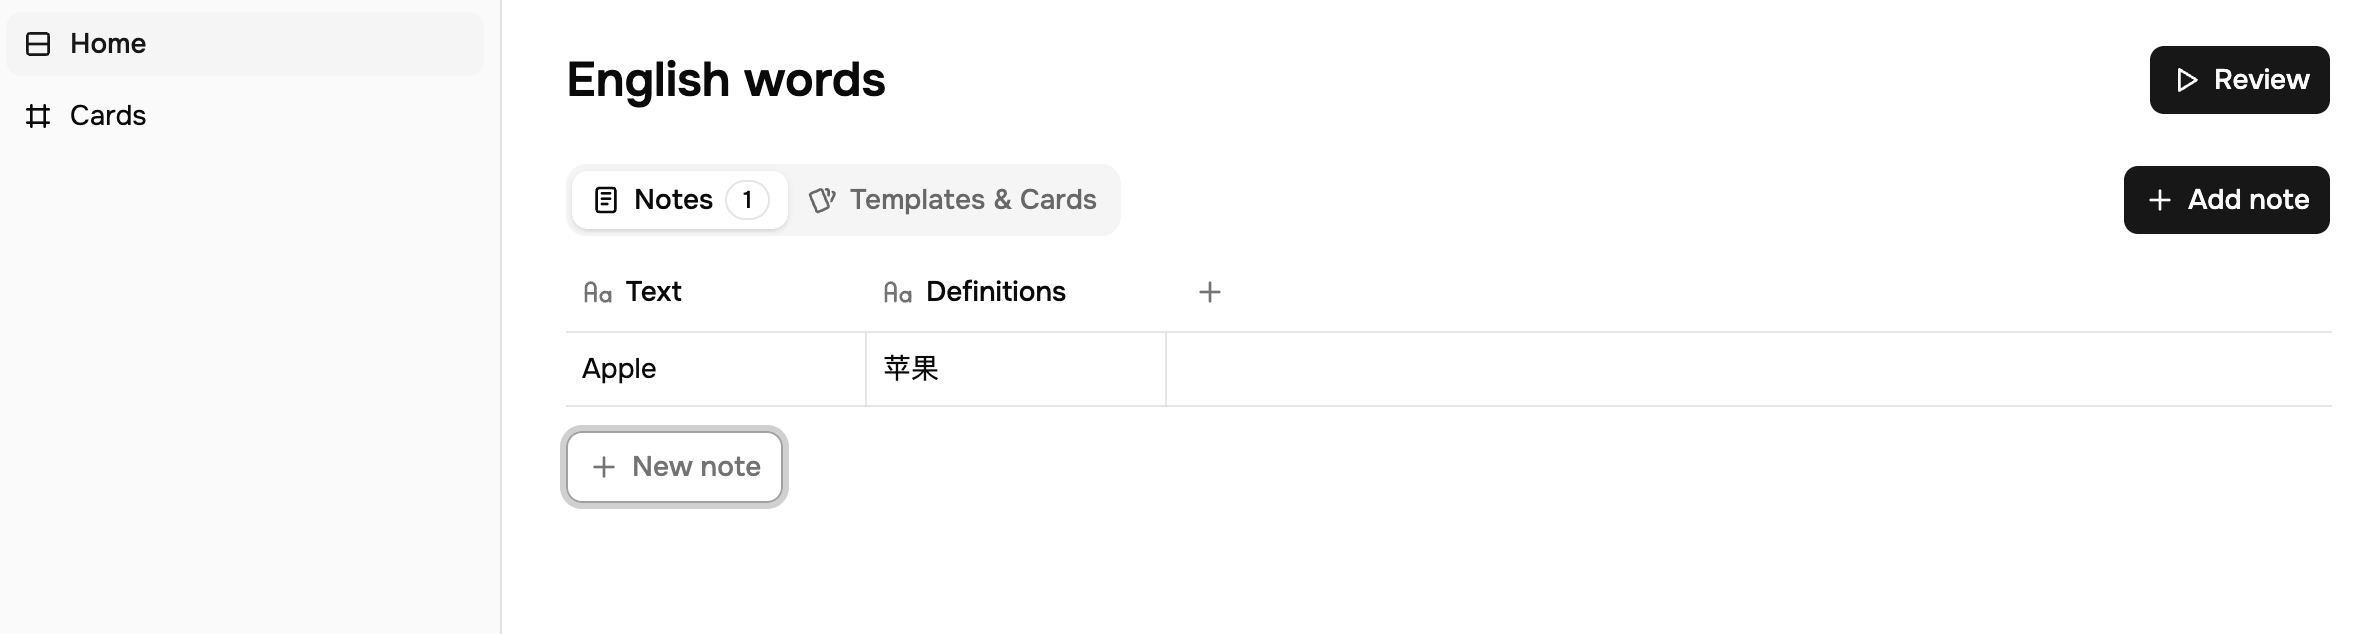
Add fields
After opening the Notebase, click Add column and add the fields you want to save. Common fields include:
- Term
- Definition
- Example sentence
- Paragraph translation
- Difficulty

Add one note manually
Click Add note or New note, manually enter one test row, and confirm that this Notebase can be edited and synced.
2. Configure Save to Notebase
The Notebase save entry point lives in the extension's Custom AI Actions. First make an AI action produce structured output, then map those output fields to Notebase fields.
Open Custom AI Actions
Open the extension options page and go to Custom AI Actions.
Screenshot placeholder: the Custom AI Actions entry in the extension options page
Choose or create an action
You can start with the default dictionary action or create a new action. Make sure the action is enabled and uses an LLM provider that supports structured output.
Screenshot placeholder: the Custom AI Actions list and enabled state
Configure output fields
In Output Schema, check the field names and field types. Notebase can only save fields that are mapped.
Screenshot placeholder: the Output Schema configuration for a Custom AI Action
Configure the Notebase connection
Find Notebase Connection in the action editor:
- Select the Notebase you created.
- Click Add mapping.
- Map each "action field" to the matching "Notebase field".
- Save the Custom AI Action.
Screenshot placeholder: selecting a Notebase and mapping fields in Notebase Connection
Field types must match. For example, text output should map to a text field, and number output should map to a number field. If a field is deleted or its type changes, the mapping becomes invalid and needs to be refreshed and fixed.
3. Test Saving Results
Select text on a webpage
Open any webpage and select a word, phrase, or short passage.
Screenshot placeholder: selected text with the selection toolbar visible
Run the Custom AI Action
Click the Custom AI Action you configured in the selection toolbar and wait for the structured result.
Screenshot placeholder: the structured result panel for a Custom AI Action
Save to Notebase
Click Save to Notebase in the result panel. If the save succeeds, you will see a success notification.
Screenshot placeholder: the Save to Notebase button in the result panel
Check the Notebase
Go back to the Notebase page on readfrog.app and confirm that the saved content appears in your notes.
Screenshot placeholder: the saved note appearing in Notebase
4. Add a Card Template
A Card Template turns each note in a Notebase into a reviewable card. The template decides what appears on the card front and what appears on the card back.
Screenshot placeholder: the Templates & Cards tab in the Notebase detail page
Open Templates & Cards
Open a Notebase and switch to the Templates & Cards tab.
Click Add template
Click Add template to open the template editor.
Screenshot placeholder: the Add template button in Templates & Cards
Name the template
In Name, enter a template name such as "Word definition", "Question answer", or "Concept review".
Configure Front and Back
Put the content you want to see first in Front, and put the answer content in Back. You can click field buttons to insert Notebase fields into the template.
For example, if your Notebase is a vocabulary list:
- Front: term, example sentence, or question
- Back: definition, paragraph translation, usage notes, or answer
If your Notebase stores other knowledge, configure the card around that knowledge structure:
- Front: question, concept name, formula, or historical event
- Back: answer, explanation, derivation, or background information
Screenshot placeholder: the Name, Front, Back, and field buttons in the Add template dialog
Save and check Cards
After saving, the Cards section shows card previews generated from your notes and template.
Screenshot placeholder: generated card previews in the Cards section
5. Start Reviewing
What you review depends on the notes saved in your Notebase and how the Card Template is configured. It can be English vocabulary and sentences, or any other knowledge you store in Notebase.
Click Review
Open the Notebase detail page and click Review in the top-right corner.
Screenshot placeholder: the Review button in the Notebase detail page
Read the Front first
The review page shows the card Front first. Try to recall the answer before revealing it.
Screenshot placeholder: the review page showing only the Front
Click Reveal Answer
Click Reveal Answer to show the Back.
Screenshot placeholder: the Reveal Answer button and Back content in the review page
Choose a review result
Choose Again, Hard, Good, or Easy based on how well you remembered the card. The system schedules future reviews based on your choice.
Screenshot placeholder: the Again, Hard, Good, and Easy review buttons
If the page shows Done for today, there are no cards due for the current study day. Come back later, or first check that you have created notes and a Card Template.
Troubleshooting
I do not see the Save to Notebase button
Check these items in order:
- Is the extension version
v1.33.12or later? - Is Config → Beta Experience enabled in the extension?
- Is the current account enrolled in the Notebase beta?
- Are you logged in to the same account on readfrog.app?
- Does this Custom AI Action have a Notebase Connection?
- Are the field mappings valid?
This account is not enrolled in the Notebase beta
This means the extension can reach the Notebase beta access check, but your account does not have Notebase beta access. If you have already received a testing invitation but still see this message, contact us through GitHub Issues and include your login account.
My version is lower than v1.33.12
Update the extension first. Versions before 1.33.12 do not officially support the current Notebase API and may fail to load Notebase data, save rows, or call the API correctly. You can download the latest version from GitHub Releases. Note that builds downloaded from GitHub Releases do not auto-update. If you prefer automatic browser store updates, the 1.33.12 store release is expected on June 8, 2026, after which extensions installed from the store should update automatically.
The mapping is invalid or the save button is disabled
If you changed Notebase fields or deleted output fields from the Custom AI Action, the old mapping may become invalid. Go back to Custom AI Actions → Notebase Connection, refresh the schema, and select the field mappings again.
I see a login required message
Log in on readfrog.app first. The extension and the web app need to use the same account to save selected-text results into your Notebase.
The selected Notebase is unavailable
This usually means the Notebase was deleted, account access changed, or sync temporarily failed. Refresh the Notebase list first. If it still does not recover, select another Notebase and fix the mappings.
No cards are generated in Templates & Cards
Make sure this Notebase has notes and at least one Card Template. If you just added a note or template, wait for sync to finish and then refresh.
The review page says Done for today
This means there are no cards due for the current study day. It does not always mean something is misconfigured. If you have not created a Card Template or the Notebase has no notes yet, add those first.
Feedback
The goal of the Notebase beta is to find real workflow problems quickly. You can report:
- which step is unclear
- which button or entry point is hard to find
- whether saving is stable
- whether field mapping is flexible enough
- whether Card Templates are easy to configure
- whether the review flow fits your learning scenario
- which field types or review flows you want Notebase to support
Please submit feedback in GitHub Issues. We will keep improving Notebase quickly during the beta period.